In this newsletter, you’ll learn how drop shipping works and discover why it’s the optimal way for you to start a new business. Let’s take a look.
One of the best things about drop shipping is that it allows you to start a business with no money down and with very little risk.
The low risk factor comes from the fact that you only have to pay suppliers when you sell something, and you don’t need to buy wholesale lots of stock. This means you’ll never have to risk buying stock that might not sell online.
Not having to buy wholesale stock also means that you don’t need to invest in a storage unit or a warehouse to store all your inventory, which can also eat into your profits.
Another major benefit of drop shipping is that you can offer your customers a wide variety of items. This is because you're not limited to dealing with just one supplier, as you can be when you buy a wholesale lot of items. With drop shipping, you can pick and choose the best items that several suppliers have to offer!
What you’ll love most about drop shipping, though, is that you can get started right now: You don’t need to save money, take out a bank loan, create a showroom or anything else to start selling! I'll come back to this later, but first of all, let me quickly explain how drop shipping works, because I get a lot of questions about this.
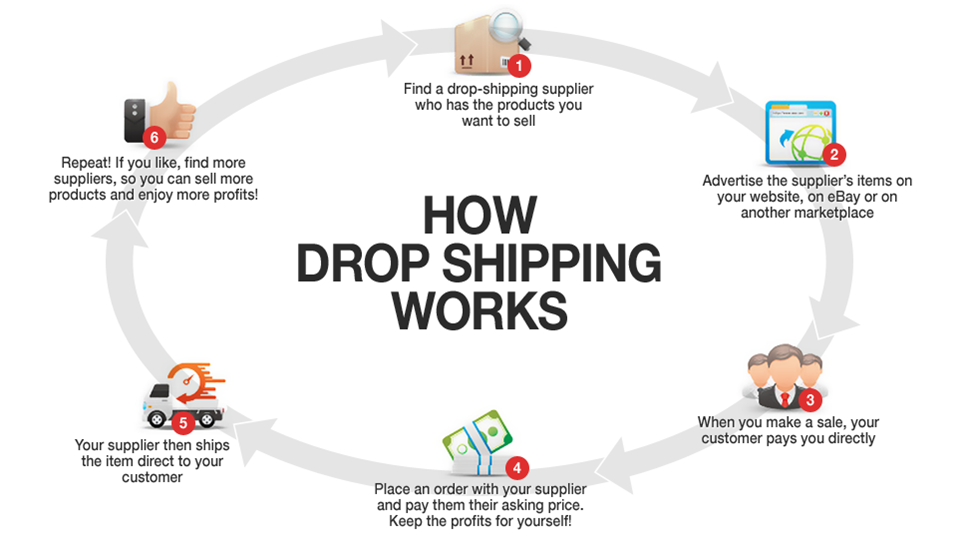
Drop shipping is actually quite straightforward, but there are a couple of steps involved. The diagram below covers each of these steps and shows you how drop shipping works.
You might be sitting there wondering whether drop shipping can really be a successful way to run a business. You’re right to question this method, given how easy it is, but the truth is, drop shipping products *is* a legitimate and profitable business! It’s a tried-and-true method.
Did you know that IKEA, the furniture retail giant, started its business using drop shipping? That was way back in the 1940s! While large brands still do use drop shipping, it’s even more popular for smaller "mom and pop" stores. Here’s an example:
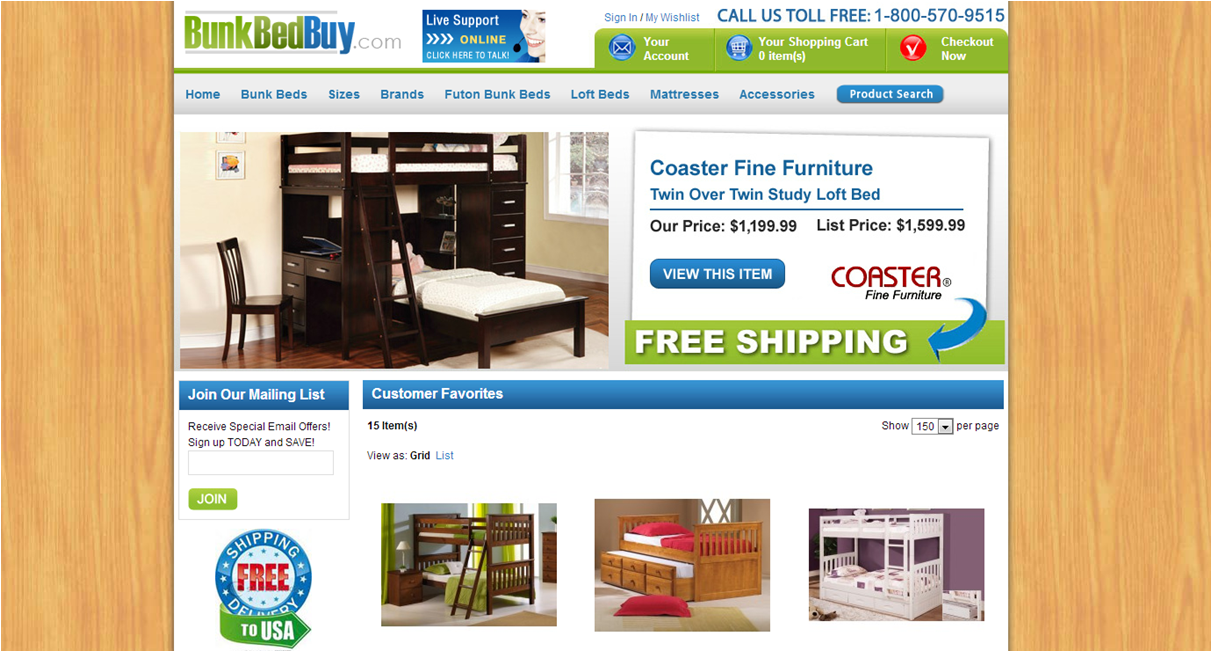
This is BunkBedBuy.com. It's a very small operation, but thanks to drop shipping, the site is able to offer a huge range of bunk beds, futons and loft beds. As you can imagine, it would require a large investment to buy and store hundreds of bunk beds, but drop shipping them means that BunkBedBuy can keep offering customers a wide range, without the risk or money required to buy them upfront. Want to know how much the owners make? Try $3,906 per month. How would you like another $4,000 or so in your bank account each month?
Hopefully, this newsletter has built up your excitement about drop shipping and you are ready to take action.
Get started the right way by joining SaleHoo, and get access to our directory of more than 8,000 trusted, pre-screened wholesale suppliers, including hundreds who offer drop shipping across dozens of product categories, including clothing, electronics, jewelry and more!